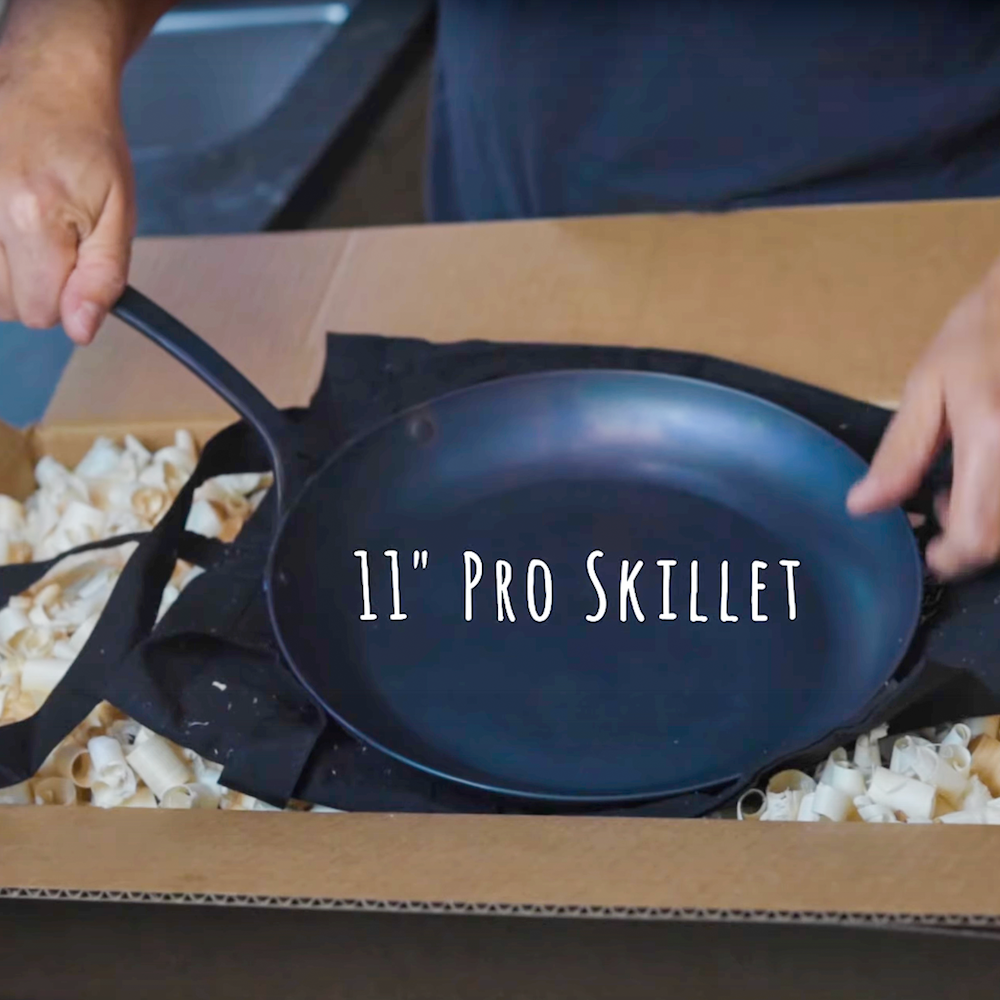
Carbon Steel Guide & Care
Learn how to season, cook with, and care for Blanc carbon steel cookware. This guide covers stovetop and oven seasoning, the best oils, foods that strip seasoning, troubleshooting, and real patina examples—everything you need from first use to lifelong maintenance.
What is Carbon Steel?
Carbon steel is an alloy made primarily of iron and carbon. While all steel contains carbon, “carbon steel” has a higher carbon content than stainless steel. This gives it great heat conduction—like cast iron—but it heats up and cools down more quickly and heats evenly. Blanc carbon steel has ~0.1% carbon—lighter and more responsive than cast iron. Unlike stainless steel, it doesn’t have rust-resistant metals like chromium or non-stick Teflon coating. It needs seasoning and care but excels at everything from searing and sautéing to baking and rendering fat. Carbon steel pans are great for cooking eggs, frying, sautéing, searing meat, baking, and rendering fat.
Carbon Steel Advantages
Why Chefs Love Carbon Steel Pans
- Natural Non-Stick Surface: Develops a slick patina over time with no synthetic coatings.
- Non-Toxic: Free of PFAS, PFOA, PTFE, lead, cadmium, and BPA.
- High Heat Tolerance: Handles very high heat without risk of damage.
- Even Heat Distribution: Promotes consistent cooking without hot spots.
- Versatile: Works with all stovetops and open flames. Built to last.
- Supports Healthy Cooking: Enables high-heat, low-oil cooking and contributes trace iron.
- Sustainable: Durable and long-lasting for reduced waste.
Carbon Steel vs. Cast Iron
- Lighter Weight: Easier to lift and maneuver.
- More Responsive: Heats and cools more quickly for better control.
- Even Heat Distribution: Great for steak and searing.
- Malleable Design: Enables ergonomic handles and slimmer walls.
- Less Brittle: More resilient than cast iron if dropped.
A note on Induction cooktops
Carbon steel cookware is a natural choice for induction cooktops when used properly.
1. Choose the appropriate size burner (hob). The hob should match as closely as possible to the flat cooking surface of the pan.
2. SLOWLY ramp up the heat. Induction heats extremely fast. Rapid heating can cause warping of your cookware. Proper pre-heating of the pan will allow the heat to fully transfer through the entire cooking surface and ensure a more pleasurable cooking experience.
Seasoning Explained
Seasoning is a process of building character over time.
When you receive your pan from Blanc, it comes pre-tempered with coconut oil to protect it from shipping. That's what gives it a blue finish. Seasoning is the process of bonding thin layers of oil to the pan using heat. This forms a naturally non-stick patina. Each use of oil reinforces this non-stick layer and evolves the look of your patina. Don’t worry, it’s easier than it sounds.
You will need to clean and season your pan before its first use and periodically throughout its life to maintain optimal performance. Stovetop Seasoning, described in detail below, is ideal for skillets like the Pro Skillet and the 11” Saucier on gas stoves. It is the method we prefer. Oven seasoning is perfect for larger pans.
The important thing to remember is that if you make a mistake, you can start over and re-season it.
Seasoning On the Stove Top
This method is ideal for skillets and sauciers on gas, electric, or induction.
Caution: This method creates smoke. Ensure good ventilation.
Before you season your cookware for the first time, wash off the layer of pre-tempered coconut oil using soap and hot water. Dry the piece thoroughly with paper towels, then warm the pan on the stove at low to medium heat to burn off any remaining moisture.
Use about 1 teaspoon of high-smoke-point oil and coat the entire surface—including sides and handle.
Wipe off almost all the oil with a paper towel. The surface should look nearly dry. Reserve the towel for future rounds.
Turn the burner to medium or medium-high and heat until the pan begins to smoke.
Use the same paper towel to remove any extra oil—3 to 4 wipes is plenty.
Takes 10–15 minutes and may need more than one pass. Watch the patina shift:
- Phase 1: Blue-gray
- Phase 2: Amber-gold
- Phase 3: Deep brown-black — “seasoning gold”
Allow the pan to cool before handling or repeating the process.
One round is enough to begin cooking, but 2–3 cycles will build a stronger, more even base. To repeat, start again from Step 2.
Oven Method
Ideal for larger cookware (13" Saucier, Rondeau, or Bake Steel) and delivers more even results with minimal fuss.
- Prep the pan: Complete Steps 1–4 from the stovetop method (wash, dry, apply oil, then wipe until nearly dry).
- Preheat: Set the oven to 450°F (232°C). Do not use self-clean mode.
- Bake: Place the pan upside down on a rack and bake for . Place a sheet of foil on the lower rack to catch drips.
- Cool in oven: Turn the oven off and let the pan cool inside, door closed, for at least .
- Repeat: Run 2–3 cycles for a deep, even patina.
Light smoke is normal—ensure good ventilation.
Troubleshooting
| Seasoning issue | Likely cause | Fix |
|---|---|---|
| Sticky surface | Too much oil applied. | Scrub with a Scotch-Brite pad or steel wool, wash, dry, and re-season with a thinner coat. |
| No color change | Oil didn’t reach polymerization temperature. | Increase heat until the oil smokes and the surface darkens; wipe any pooling oil. |
| Ashy or chalky finish | Pan overheated or oil burned too fast. | Lower heat, strip lightly if needed, apply a very thin coat, and repeat gently. |
Carbon Steel Care
Protecting your Patina
- Gradually preheat to avoid warping and allow the surface to come to temperature.
- Avoid prolonged cooking with acidic or sugary ingredients until your pan is well-seasoned.
- Use oils with high smoke points (like grapeseed, avocado, or canola).
- Stick to neutral, oil-based cooking early on (searing, frying, sautéing).
- Use wood, silicone, or nylon utensils. Metal utensils are fine to use as well, just be mindful of chipping the seasoning off.
After Each Use
- After cooking, rinse away food debris under warm running water and don't be afraid to use soap. If needed, use a wooden or silicone utensil, towel, or sponge to lift anything that doesn’t rinse off.
- For stubborn bits, scrub with coarse salt and a paper towel, or simmer a little water to loosen residue.
- Dry immediately and completely—wipe with a paper towel, then warm the pan on the stove.
- For storage, finish with a light, thin coat of oil over the entire surface to help prevent rust.
Avoid
- Putting your pan in the dishwasher (it can strip seasoning and cause rust).
- Soaking the pan in water.
- Storing the pan wet or with the lid on (traps moisture and leads to rust).
Best Oils for Seasoning
The right oil builds a strong, effective seasoning layer. These options have high smoke points and neutral flavors.
| Oil type | Image | Why it works |
|---|---|---|
| Vegetable (Canola) |  |
Budget-friendly, widely available, and a reliably high smoke point. |
| Avocado oil |  |
Very high smoke point; neutral for both stovetop and oven seasoning. |
| Lard / Shortening |  |
Builds a tough, durable layer—classic for carbon steel and cast iron. |
| Grapeseed oil |  |
High smoke point and neutral flavor; a chef favorite. |
| Flaxseed oil |  |
Forms a very hard layer—apply ultra-thin coats to avoid flaking. |
Foods That Strip Seasoning
While your patina is still developing, these foods can thin or strip it—especially with long cook times or reductions.
⚠️ High-acidity or sugar-rich foods
| Food | Image | Why it strips seasoning |
|---|---|---|
| Citrus fruits |  |
Highly acidic; quickly attacks a young patina. |
| Berries |  |
Acids and sugars reduce into a syrup that strips seasoning. |
| Tomatoes |  |
High acidity—avoid long simmering early on. |
| Vinegar / wine |  |
Deglazing and reductions concentrate acidity. |
| Caramelized onions |  |
Extended high heat plus sugars can thin early layers. |
⚠️ Fermented & pickled foods
| Food | Image | Why it strips seasoning |
|---|---|---|
| Pickles / sauerkraut / kimchi |  |
Acidic brines erode young layers quickly. |
| Fermented dairy |  |
Lactic acid is tough on new seasoning—avoid early. |
Pans We’ve Seasoned: Shades of Patina
These examples from our kitchen show different seasoning methods and how a patina naturally evolves with use. Seasoning is a process, not a finish line. Variations in color and texture are signs of honest use, not flaws.

No Seasoning
- Cooked in: 2 times
- Cooked: Onions, peppers with avocado oil
- Heat source: Gas stovetop

1 Seasoning
- Cooked in: 0 times
- Seasoning oil: Crisbee
- Heat source: Induction stovetop

2 Seasonings
- Seasoning oil: Crisbee
- Heat source: Grill & induction
- Cooked in: 0 times

2 Seasonings
- Seasoning oil: Grapeseed oil
- Heat source: Wood-fired oven
- Cooked in: 0 times

2 Seasonings
- Seasoning oil: Avocado + grapeseed
- Heat source: Gas stovetop
- Cooked in: 5+ times

3 Seasonings
- Seasoning oil: Avocado + grapeseed
- Heat source: Gas stovetop
- Cooked in: 10+ times